QuickBooks Integration Setup

Modified on Thu, 16 Jul at 10:27 AM

This guide walks you step by step through the setup and use of the integration between PivoHub and your accounting system. Follow the steps in order for a successful configuration.


1. Connecting and creating the integration

1.1 Access the integrations

  1. In PivoHub, click Menu, then select Integrations.

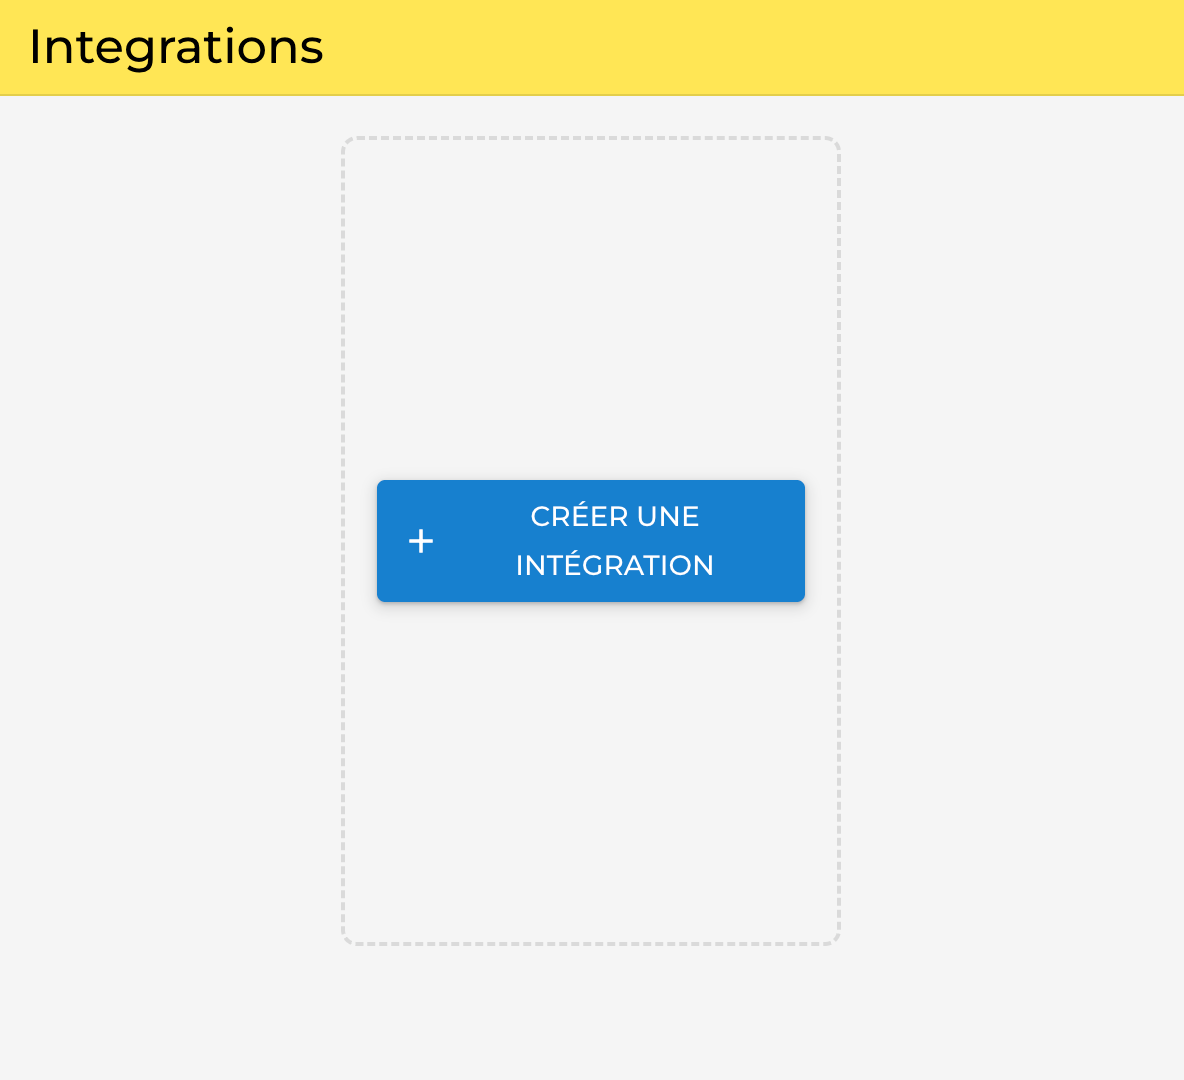
  2. Click + Create an Integration.

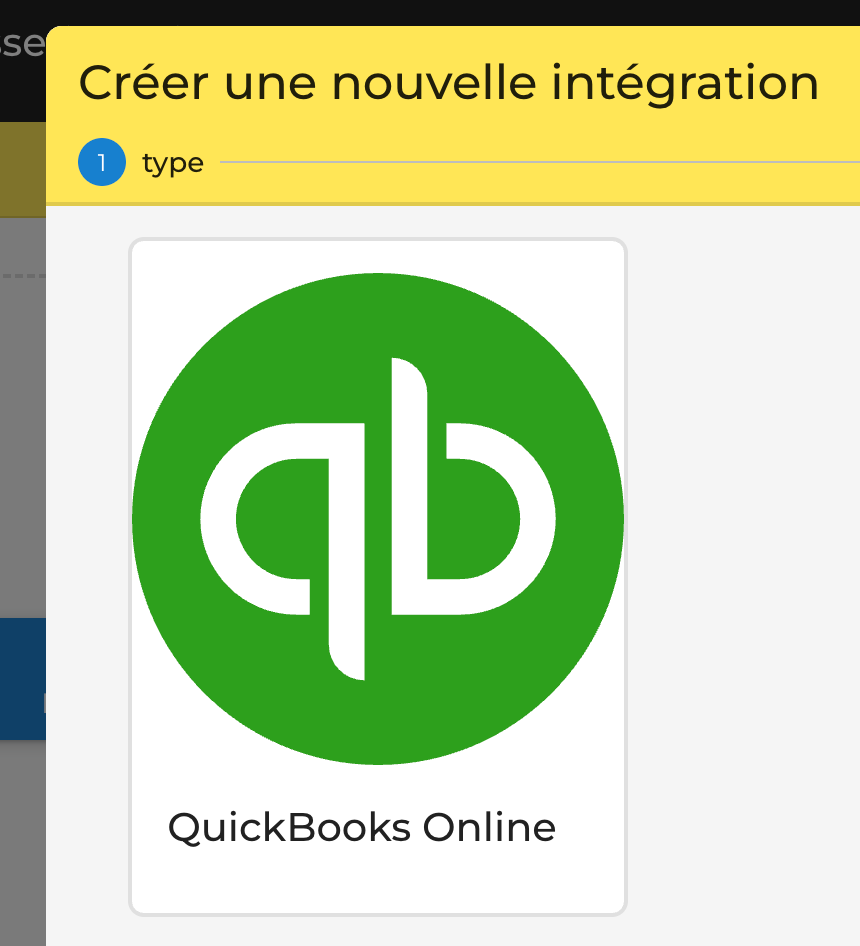
  3. Choose QuickBooks Online.


1.2 Authorizing the connection

You will be redirected to the QuickBooks website to sign in and select the account to connect. After accepting the permissions, you will be automatically redirected back to PivoHub.


2. Configuring the integration

Once the connection is established, configure the integration through the CONFIGURATION tab. Settings are grouped into three categories: general settings, sales synchronization, and product synchronization.
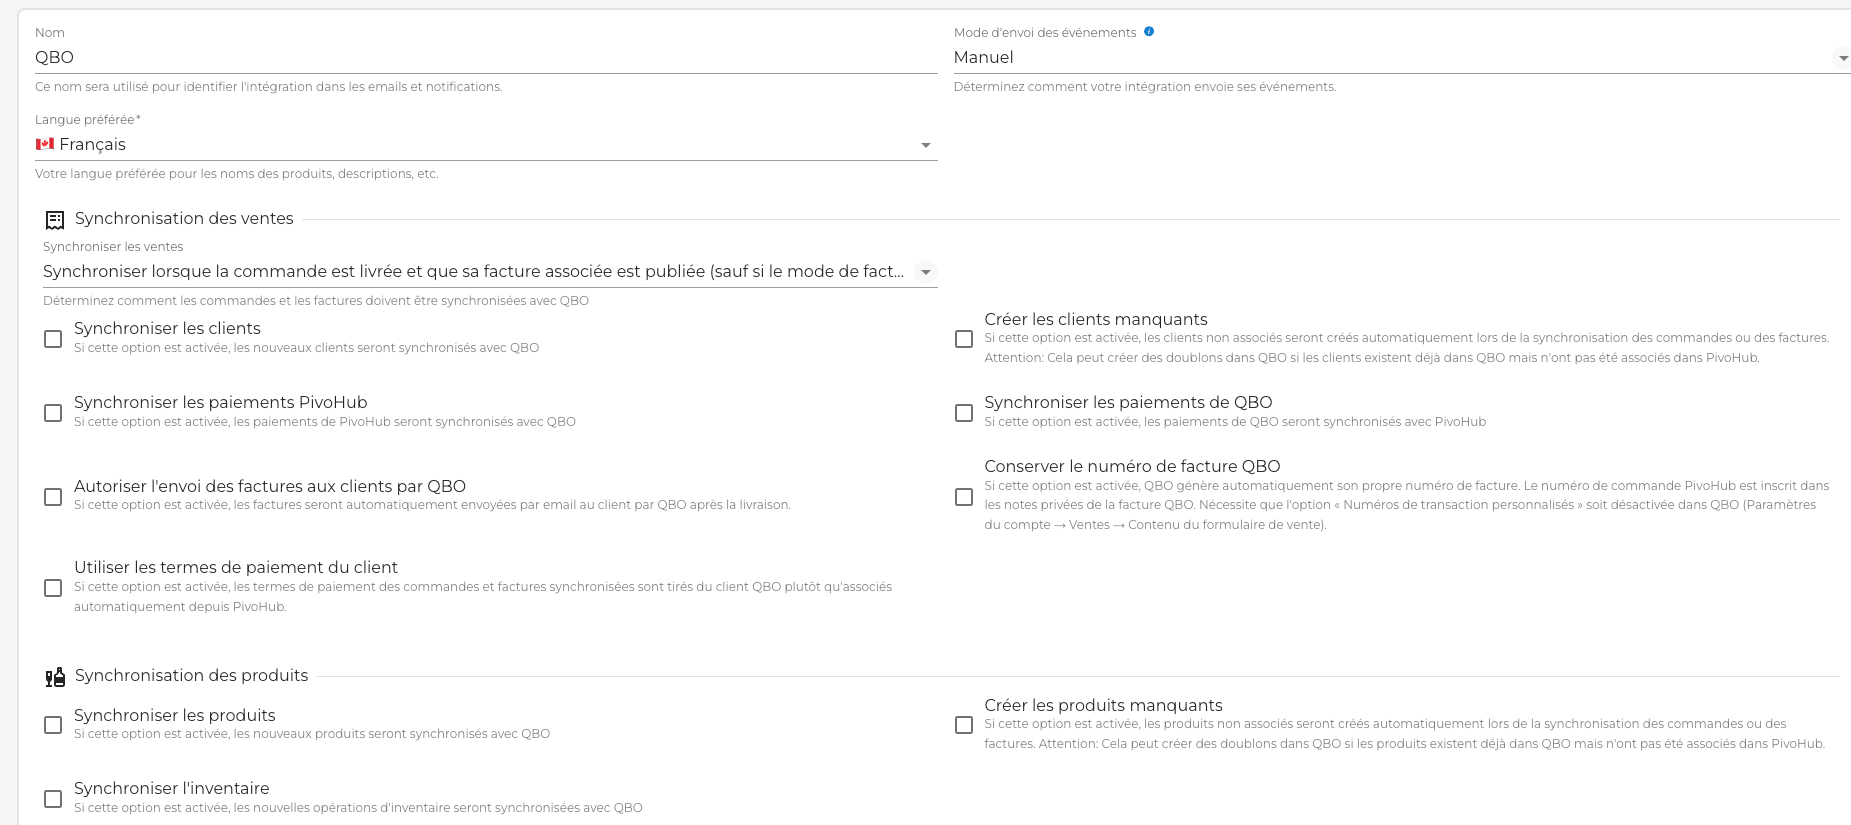


2.1 General settings

Setting

Description and recommendation

Event delivery mode

Defines whether synchronizations happen automatically or manually. Manual: you control each transfer, ideal when getting started. Automatic: synchronization without intervention, recommended once you’re comfortable.


✅ Recommended: Start in Manual mode.

2.2 Sales synchronization

Option

Description and recommendation

Sync sales

Defines when orders and invoices are synchronized with QBO. Select from the drop-down menu, e.g., "Sync at order delivery."


✅ Recommended: Choose based on your workflow.

Sync customers

If enabled, new customers created in PivoHub will be automatically synchronized with QBO.

Sync PivoHub payments

If enabled, payments recorded in PivoHub will be synchronized to QBO.

Sync QBO payments

If enabled, payments recorded in QBO will be synchronized to PivoHub.

Allow QBO to send invoices to customers

If enabled, QBO will automatically email the invoice to the customer after delivery. If buyers already receive an invoice via PivoHub, disable this option to avoid duplicates.


✅ Recommended: Disable if PivoHub already sends the invoices.

Use customer payment terms

If enabled, payment terms on synchronized orders and invoices are pulled from the QBO customer profile instead of those in PivoHub.

Create missing customers

If enabled, unmatched customers will be created automatically during synchronization. Warning: may create duplicates if the customers already exist in QBO without having been mapped in PivoHub.


⚠️ WARNING: Only enable this on an empty QBO account.

Keep QBO invoice number

If enabled, QBO generates its own invoice number. The PivoHub number is kept in the private notes.


❗ Requires the option "Custom transaction numbers" to be disabled in QBO (Account settings → Sales → Sales form content).


⚠️ Never enable "Create missing customers" or "Create missing products" if items already exist in QBO without being mapped — this will create duplicates that are difficult to fix.


2.3 Product synchronization

Option

Description and recommendation

Sync products

If enabled, new products created in PivoHub will be automatically synchronized with QBO.

Sync inventory

If enabled, new inventory operations will be synchronized with QBO.

Create missing products

If enabled, unmatched products will be created automatically during synchronization. Warning: may create duplicates if the products already exist in QBO without having been mapped in PivoHub.


⚠️ WARNING: Only enable this on an empty QBO account.


3. MAPPINGS tab

The MAPPINGS tab shows the correspondence between the elements in PivoHub (products, customers, taxes) and those in your accounting system.
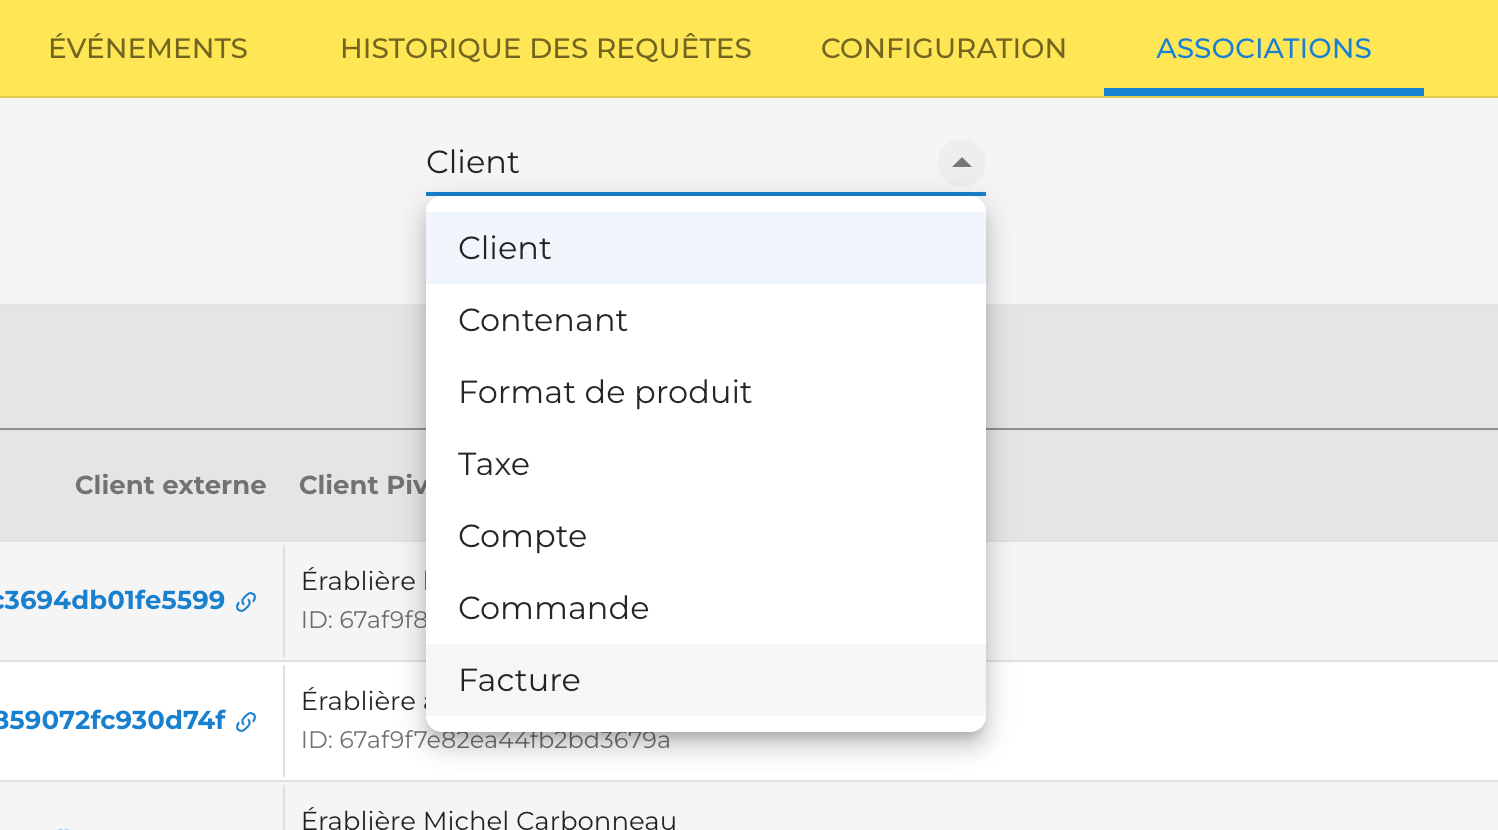

  • Map an existing item: Turn on quick mapping. PivoHub will map items as best it can using the information found in your accounting system.



  • Use the selector to choose the corresponding item, then click the blue button Map external data to this entity.
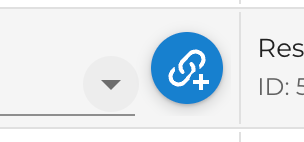


  • Create a missing item: If an item doesn’t exist yet in your accounting system, click the upload button on the far right of the item to create it automatically as it appears in PivoHub.



★ Tip


Do a full review of the mappings before your first transfers to avoid synchronization errors.


4. EVENTS tab

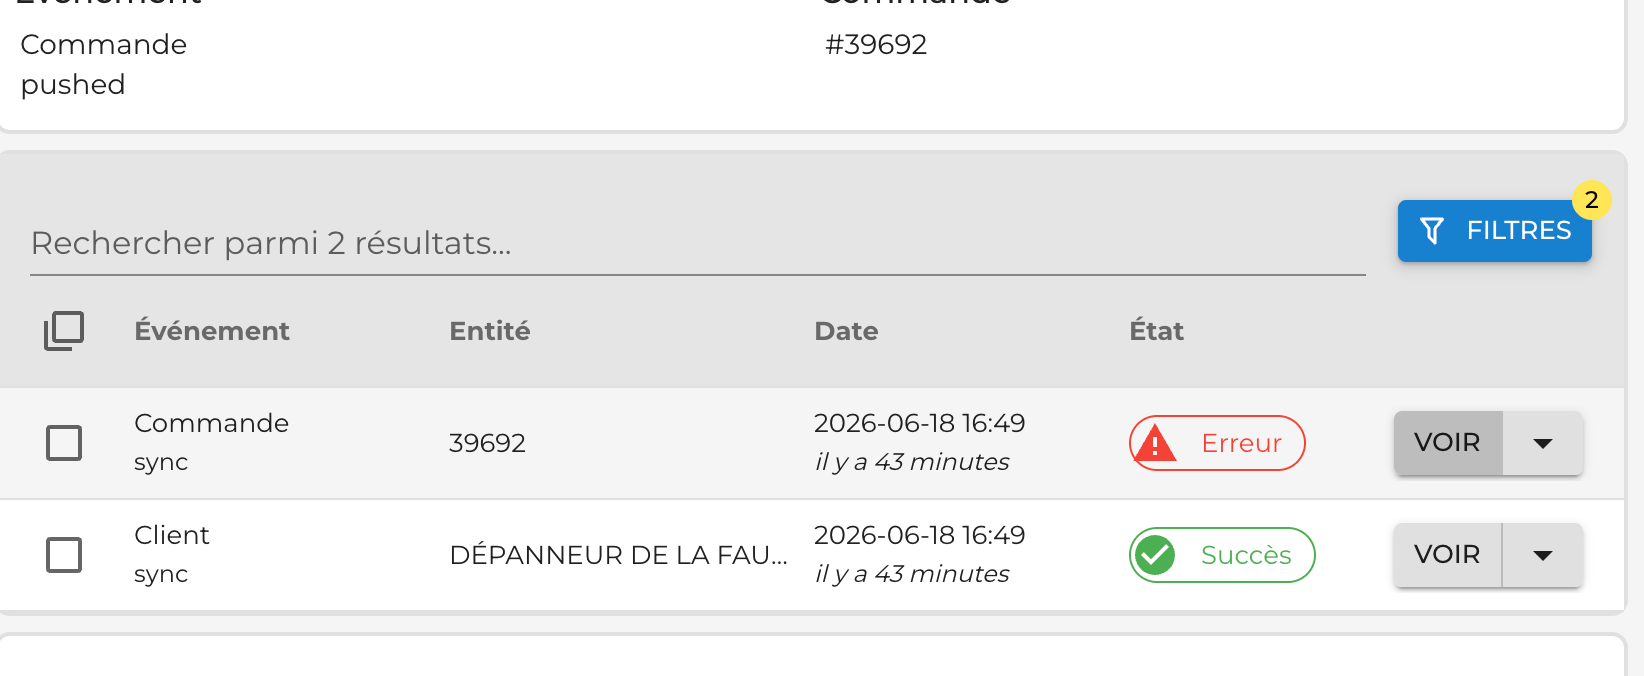
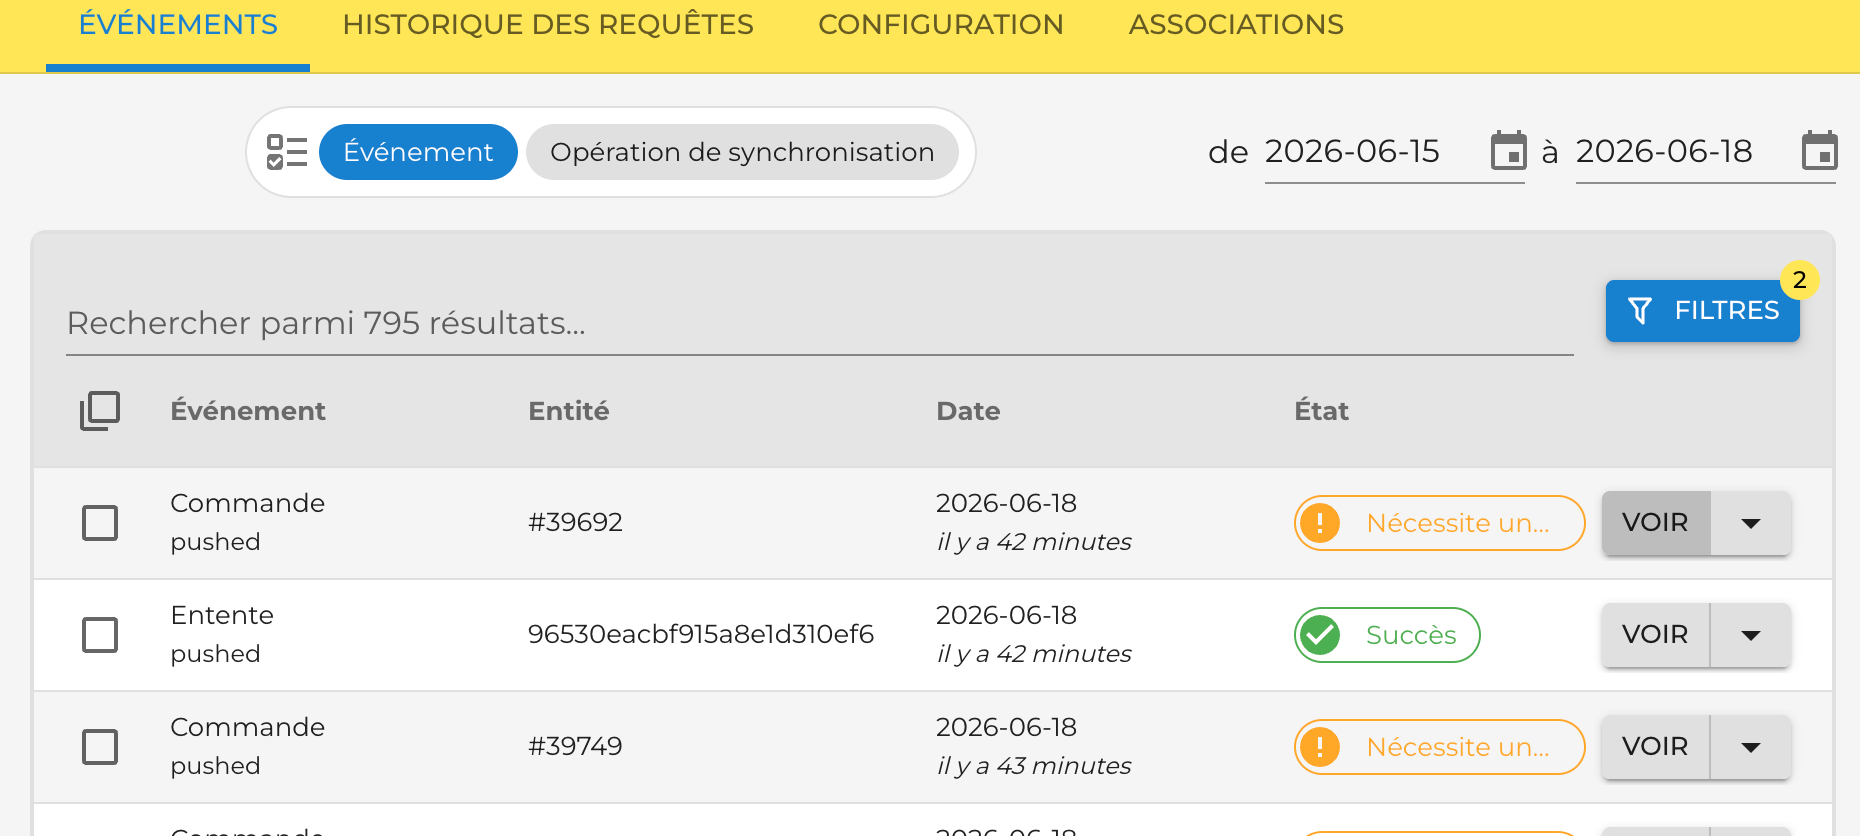
The EVENTS tab lets you track integration activity and identify issues that require your attention.

4.1 Example error and resolution

Typical scenario: an order fails because a product hasn’t been mapped.


  1. You receive a notification and see the event flagged as an error in the list.

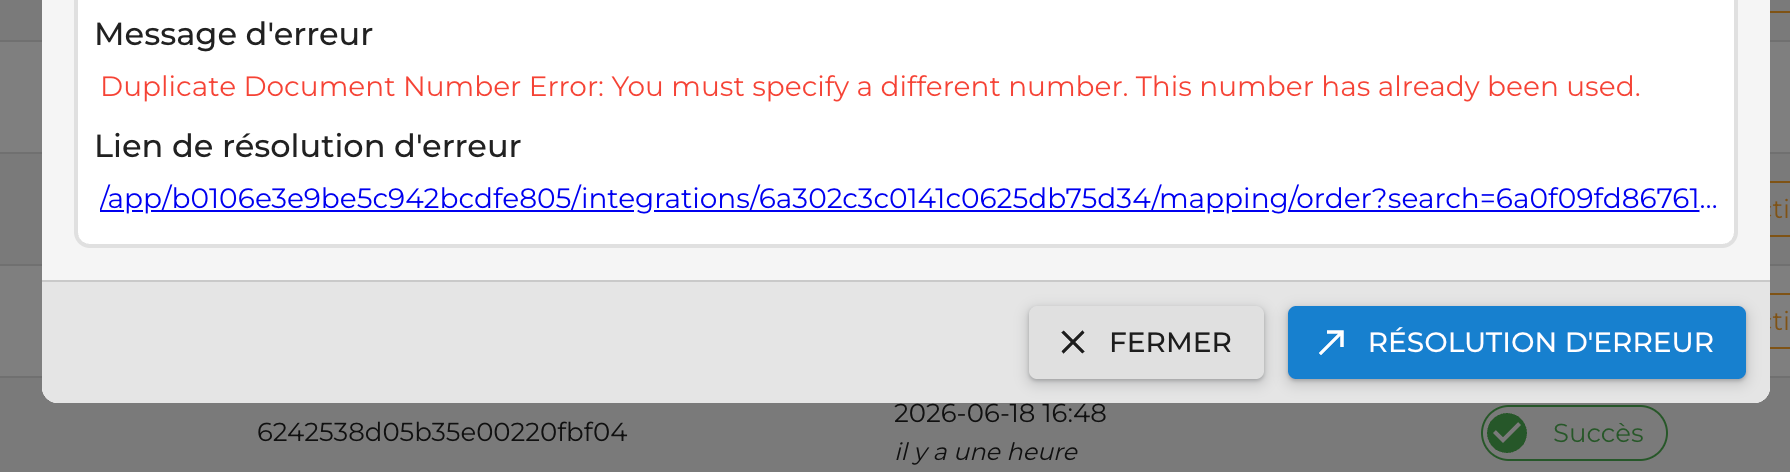
  2. Open the event details via VIEW to see the attempts and the reasons for the failure.

  3. Click the error resolution link to jump to the mappings interface.

  4. Fix the issue by manually mapping the product or customer, or by using the upload function if it’s missing.

  5. Synchronization resumes automatically once the problem is resolved.


★ Tip


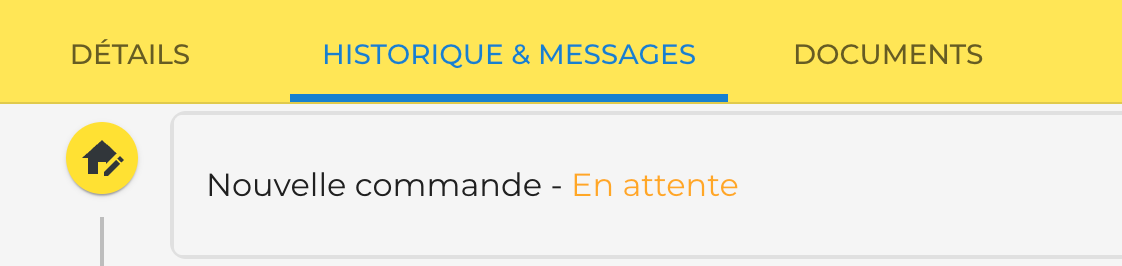
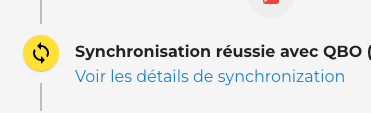
Check the History & Messages tab directly on the order in question to see the synchronization result (visible only to you, not to the buyer).


5. Best practices and next steps

#

Best practice

1

Start in Manual mode and run a few test transfers before switching to Automatic.

2

Review the content of your first transferred orders to confirm the integration behaves as expected.

3

Go through the MAPPINGS tab and resolve any missing correspondences before your regular transfers.

4

Once you’re comfortable, switch to Automatic mode from the CONFIGURATION tab.


✓ Congratulations! Your integration is configured.


For any question, contact the PivoHub team — we’re here to help.


Was this article helpful?

That’s Great!

Thank you for your feedback

Sorry! We couldn't be helpful

Thank you for your feedback

Let us know how can we improve this article!

Select at least one of the reasons
CAPTCHA verification is required.

Feedback sent

We appreciate your effort and will try to fix the article