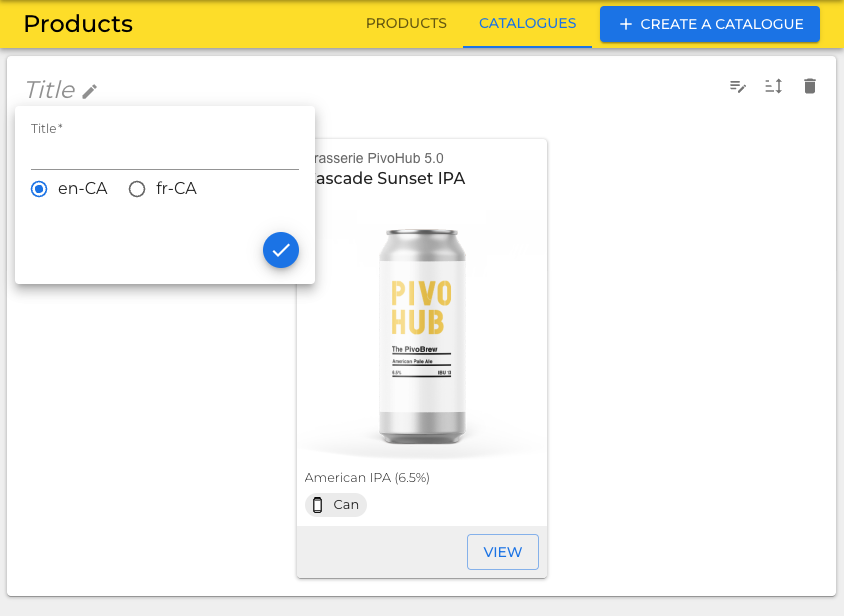
Products
What will be covered in this page:
Product Creation
Step by step
Step 1: Navigate to “Products“.
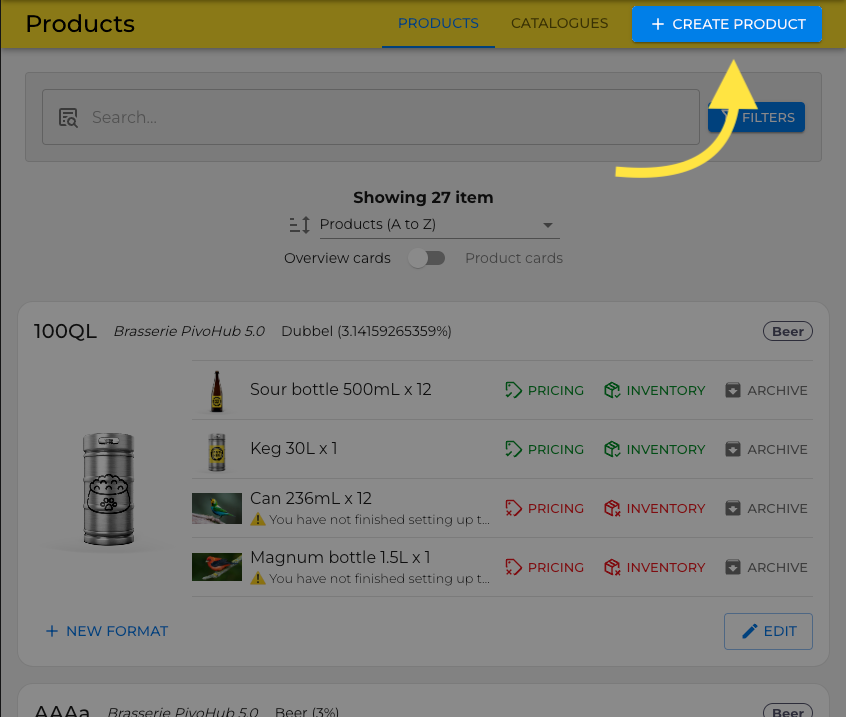
Step 2: Click on “Create Product“ in the top right.
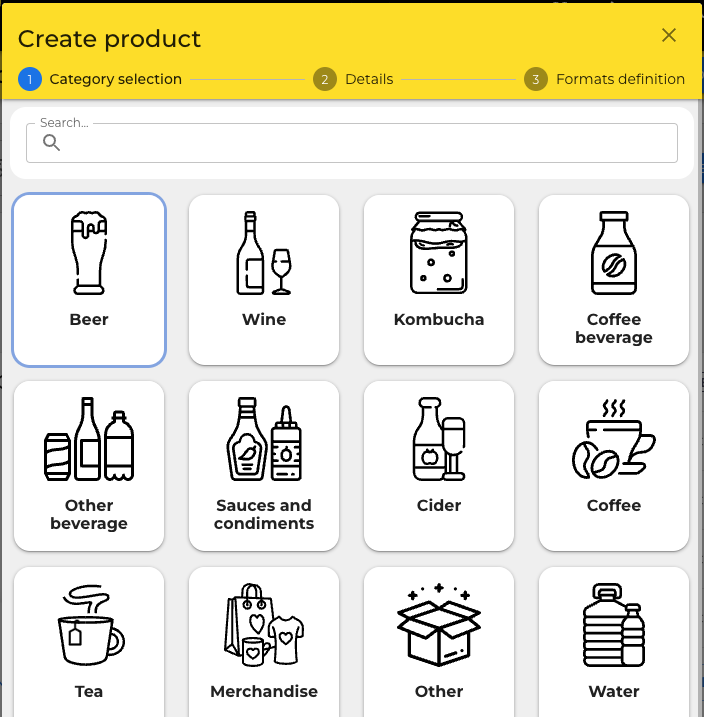
Step 3: Select the Category that corresponds to the desired product
Step 4: Fill in the fields with the information of the product you wish to create.
The mandatory fields are "Product Name" and "Description", an image of the product will also be requested in the next step.
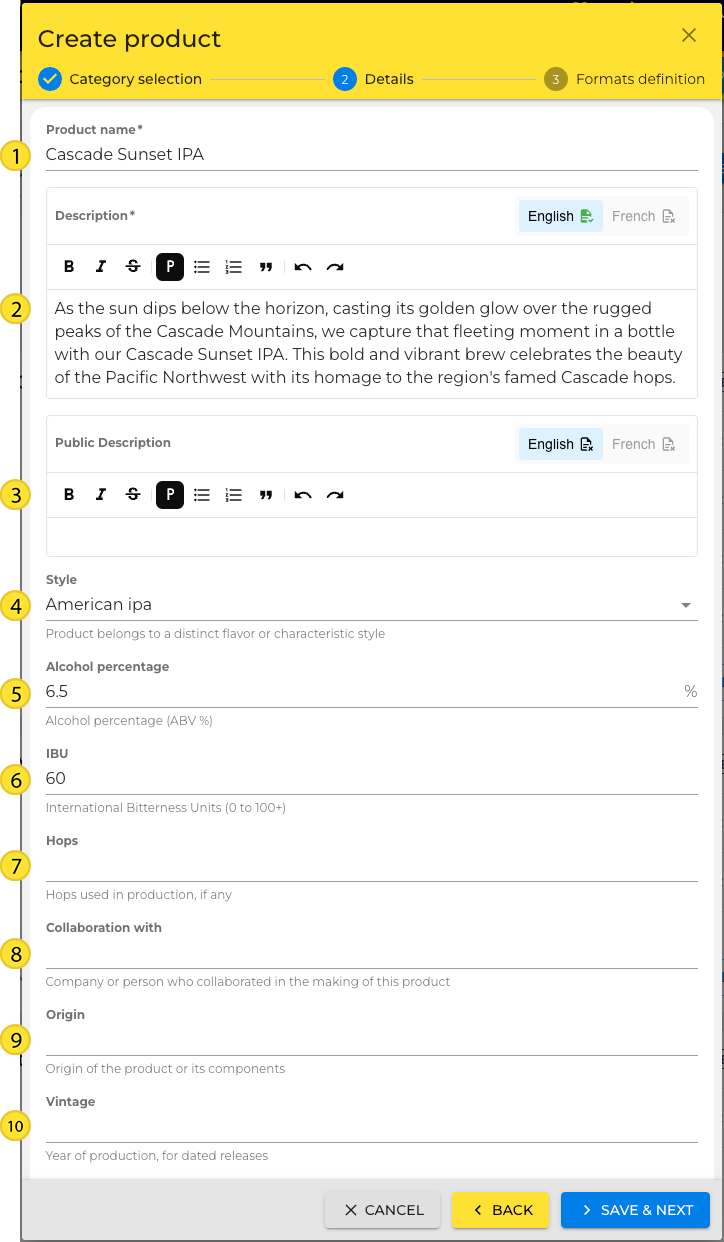
Product Name: Displayed name that is shown across PivoHub.
Description: A description that will be displayed under your product in marketplace.
Public Description: A brief description appended you your product in the discovery module.
Remember that to maximize the visibility of your product, descriptions in French and English are possible and strongly recommended. To switch from one version to the other, click on the button corresponding to the desired language to the right of the description box.
If applicable (beer, wine, etc.) you will be able to fill in more information about your product at this step:
Style: Used to categories and define beer Types common in the industry.
Alcohol Percentage: Alcohol by volume (ABV) is a metric used to determine the alcohol content in an alcoholic beverage.
IBU: International Bitterness Units (IBU), the number reflects a beer's bitterness and is derived from hops.
Hops: The hops that can be found in the brewed alcoholic beverages.
Collaboration: Display potential collaborators on a given product.
Origin: The origin of the products, where the components were sourced, etc.
Vintage: The year of production.
Click on Save & next
Step 5: Create the format that your product will be distributed in.
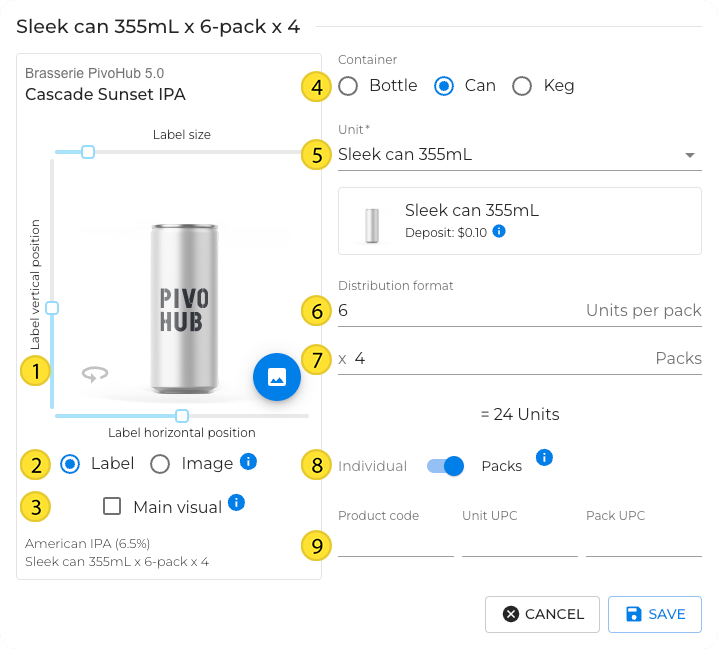
Container: The type of container that the product will be sold in.
Units: The container format that will be sold as.
Distribution Formats: The amount of units within a quantity (i.e. a 6-pack of cans).
Packs: The amount of units in one pack (i.e. 4*6-packs in a case)
Individual vs Packs: Products have the option to either be sold as single units or as packs.
Codes & UPC’s: Products give you the option to append product code to your formats.
The SKU of a product corresponds to a unique code internal to your business, allowing you to better manage your logistics.
The UPC code is the unique universal bar code that your customers will use to scan your items. It must be unique, by format, by packaging. UPC codes are not managed internally by your business and must be requested from an external standards organization, such as GS-1.
Add an image via the image editor: Click the image button
.png?inst-v=e308f79c-b021-4655-97d4-9d5cf2ad296b) to access your images and select the desired image. Only jpg and png formats are accepted at the moment. If your product format is compatible with adding a label, you will be able to upload and adjust it here as well.
to access your images and select the desired image. Only jpg and png formats are accepted at the moment. If your product format is compatible with adding a label, you will be able to upload and adjust it here as well.Label type: Product images can be photos of the items.
Primary visual: The format you want to use as the primary visual for your product. This is the image the retailer will see when browsing your PivoHub store.
Check your progress by clicking on the icon to the right of the progress bar. You will be able to modify and complete the information after creating your product
Attributes
Since version 10.2 of PivoHub, you have the ability to assign a multitude of attributes to your products.
The attributes vary depending on the family or type of products. You will have the choice to declare the following attributes:
Attribute | Description |
|---|---|
Organic | Made from organic ingredients or materials. |
Local Product | All direct costs of production or manufacturing of the product have been incurred in a specific region, and the last substantial transformation of the product took place in this region. |
Locally Prepared Product | More than 85% of the ingredients are prepared locally. |
Origin (Other) | Origin of the product or its components. |
Style | The product belongs to a distinct flavor or characteristic style. |
Sub-category | Sub-category of the product. |
Keep Frozen | Should the product be kept in the freezer? |
Keep Refrigerated | Should the product be kept in the refrigerator? |
Non-Alcoholic Products | Associated with a type where all products are alcohol-free. |
Alcohol Percentage | Alcohol content (ABV %). |
Gluten-Free | Products that do not contain gluten, wheat, barley, etc. |
Halal | Product compliant with Islamic laws, supervised by an Islamic organization. |
Not Tested on Animals | Product and ingredients not tested on animals at any stage of production. |
Vegan | Products declared to contain no animal-derived ingredients. |
Nut-Free | Products that do not contain nuts or traces of nuts. Must be controlled. |
Kosher | Product declared compliant with Jewish dietary laws, production supervised by a rabbinical organization. |
International Bitterness Units | International Bitterness Units (0 to 100+). |
Vintage | Year of production, for dated versions. |
Sugar Content (g/L) | The amount of residual sugar (RS) in the product, per liter (g/L). |
Hops | Hops used in production, if any. |
Wine Type | Type of wine. |
Process | Treatment of coffee beans. |
Sustainable Fishing | Seafood caught or farmed sustainably. |
Altitude | Altitude at which coffee beans are grown. |
Collaboration With | Company or person who collaborated in the making of this product. |
By declaring these attributes, customers can easily access detailed information about the products that interest them, enhancing their shopping experience and allowing them to make choices that match their preferences and needs.
A number of these attributes lead to easy filtering on the customer side:
Organic
Gluten-Free
Nut-Free
Frozen Products
Alcohol-Free
Halal
Kosher
Warning! Product attributes on PivoHub are declarative; it is the producer's responsibility to ensure the certification, safety, and authenticity of these declarations.
Step 8 : Click on “Save” to finalize your product creation.
Label View
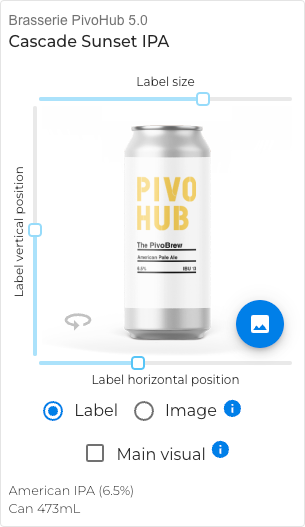
Label Size:
Label Vertical Position:
Label Horizontal Position:
Catalogues
Product catalogues allow you to group products together. These groups can be used across the application to apply sales rules, accessibility, and visibility of the products.
Creation
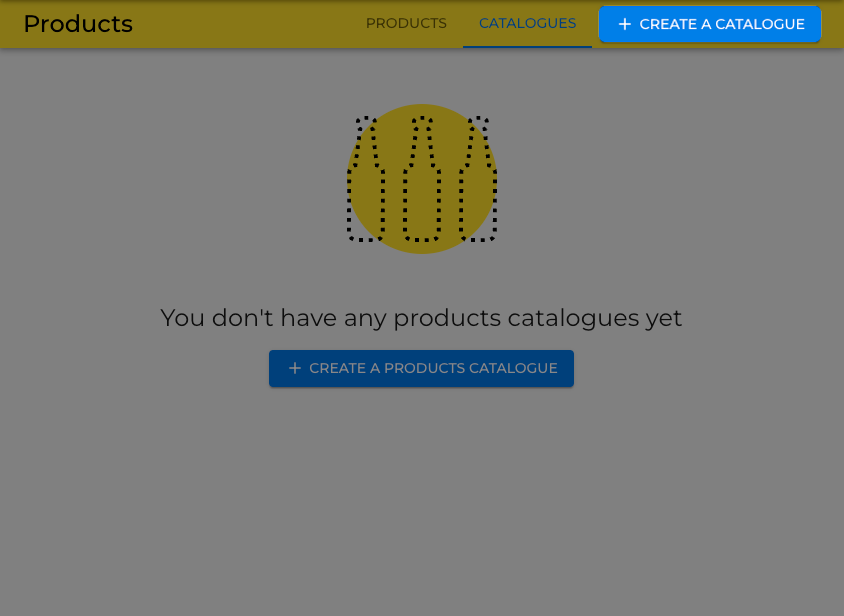
Step 1: Navigate to the “Products“ pages with the left hand menu and then the “catalogues“ sub menu.
Step 2: Select every product that belong in the new catalogue.
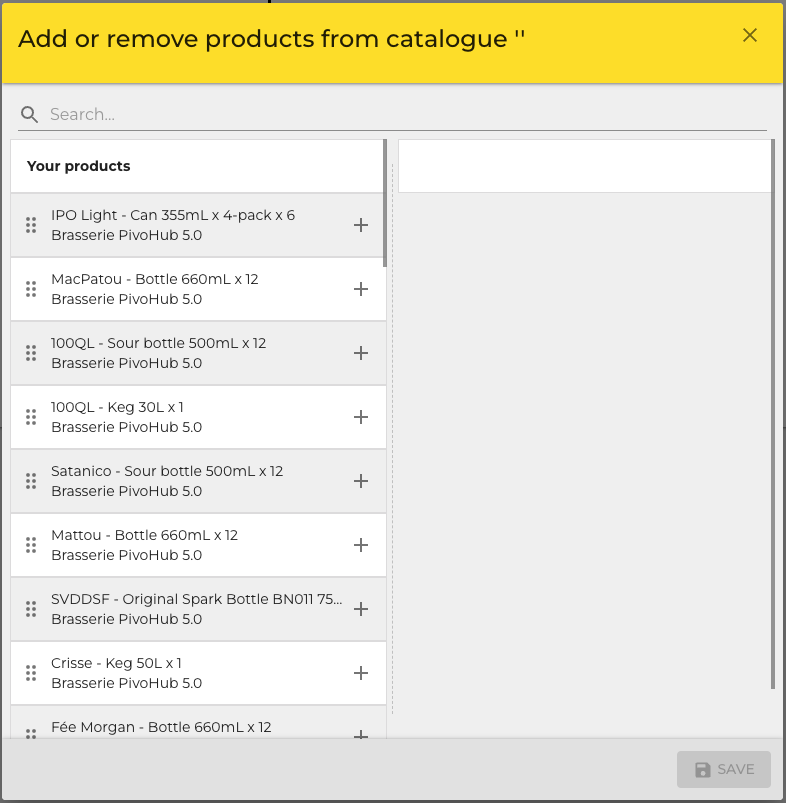
Step 3: Give your catalogue a name to identify it more easily.
